
Top 5 Cold Plunge Pump Mistakes That Burn Out Your Chiller
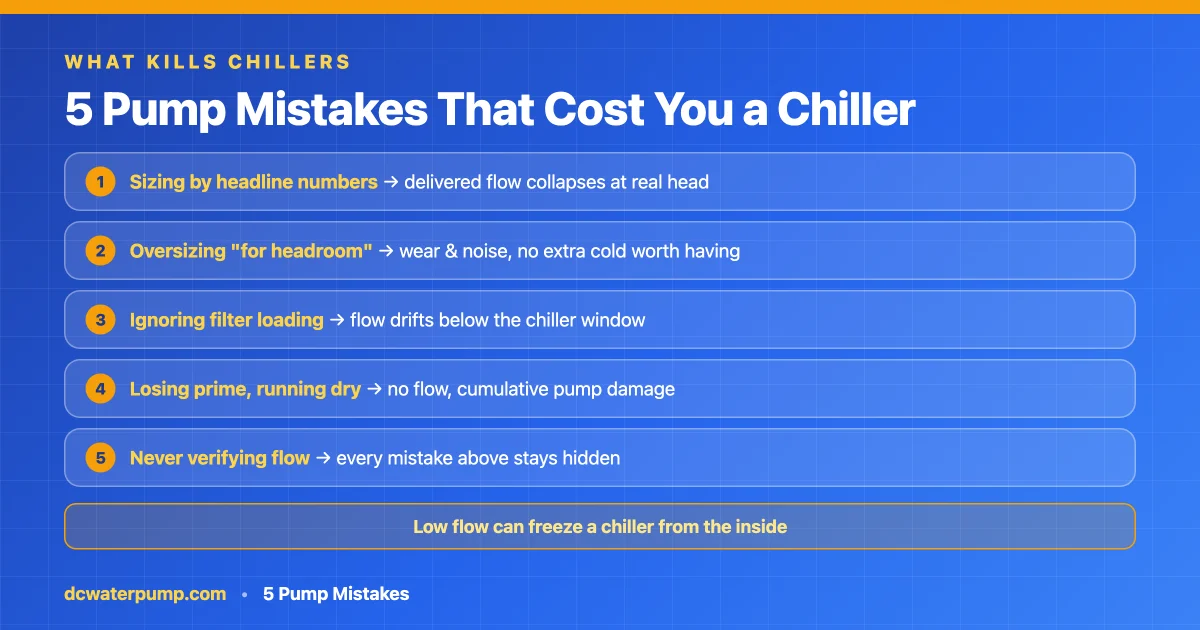
TL;DR: In a cold plunge system the pump is the cheapest rotating part and the chiller is the most expensive one — and among the early chiller failures owners report, the pump-driven ones stand out as the most preventable. (Chillers die of their own causes too — compressors, sensors, refrigerant circuits — but those aren’t failures you chose at the pump aisle.) The five killers: sizing by headline numbers instead of the curve; oversizing “for headroom”; letting the filter quietly drag flow out of the chiller’s window; losing prime and running the loop dry; and never verifying delivered flow at all. Each one is preventable at purchase or install time, for less than the cost of a chiller’s shipping box.
What are the most common cold plunge pump mistakes?
The five that damage equipment: (1) sizing by max-flow/max-head headlines instead of the pump curve at real system head; (2) oversizing beyond the chiller’s specified flow range; (3) ignoring filter loading, which pulls flow below the window over weeks; (4) losing prime and dry-running the pump; (5) never measuring delivered flow after install.
Why the pump has outsized say in the chiller’s lifespan
The cold plunge market has crossed serious-money territory — Grand View Research puts it at USD 354.6 million in 2025, growing 8.1% annually — and the spending pattern hasn’t changed: tubs and chillers get the budget, the pump gets whatever’s left. That priority is exactly backwards from the failure data the community keeps generating. The chiller only ever sees the water the pump delivers; feed it wrong, and the most expensive component in the system absorbs the consequences.
One mechanism deserves a warning box before the list, because it’s the one that kills hardware fastest: insufficient flow can freeze a chiller from the inside. Cold plunge owners on r/coldplunge relay what chiller manufacturers’ support desks tell them — when flow drops too low, water lingers in the heat exchanger long enough to ice up, and ice in a heat exchanger means deformation and, at the extreme, a dead chiller. Every mistake below either causes low flow directly or hides it from you.
Mistake 1 — Sizing by the headline numbers
The listing says 1,200 GPH and 10 ft max head; your loop needs 500 GPH at 14 ft; the purchase feels safe. It isn’t, because a pump never delivers max flow and max head at the same time — both are curve endpoints, and your operating point lives in between. A pump bought on headlines routinely delivers a fraction of the sticker flow at real system head, landing below the chiller’s minimum — the freeze zone.
Prevention: compute your loop’s head honestly (closed loop: friction and equipment, not elevation — the math is in max head vs flow rate), then read candidate pumps’ published curves at that head. No published curve, no purchase. The full method is our five-step sizing guide.
Mistake 2 — Oversizing “for headroom”
The opposite reflex is equally expensive: buy big, feel safe. But the chiller’s refrigeration circuit sets the ceiling on cooling — pushing water past the coil faster than the specified range buys, at best, marginal heat-transfer gains at rapidly diminishing returns. What oversizing reliably adds: pressure drop, noise you’ll be living beside, wear across every component, electricity on duty-cycle hours, and operation outside the flow range the chiller maker specifies and warranties. Plunge Junkies’ guidance is the standing consensus: stay inside the chiller’s stated range, and default to its middle rather than its ceiling.
Prevention: treat the chiller manual’s flow range as a hard spec, not a suggestion. If you inherited an oversized pump, a speed-adjustable model can be dialed back into the window — the one case where “too big” is fixable in software.
Mistake 3 — Letting the filter drift you out of the window
The sneaky one. Day one: clean cartridge, flow inside the window, everything works. Week four: the cartridge has loaded, its head cost has grown, delivered flow has slid below the chiller’s minimum — and nothing announces it. The system just runs colder-side flow it was never specified for, cycling oddly, until a FLO fault or worse.
Prevention: size the pump for dirty-filter head from the start (our pump-and-filter guide covers the architecture), and change cartridges on the loading signal — rising pressure, falling flow — rather than the calendar. An adjustable-speed pump adds useful margin between services, with one discipline attached: needing to turn it up is the change-the-cartridge signal, not a way to postpone it.
Mistake 4 — Losing prime and running dry
The compact circulation pumps used in plunge loops are flooded-suction designs: they push water and cannot pull it up from dry. Mount one above the waterline, or let air into the line after a cartridge change, and the impeller spins in air — no flow to the chiller (see the warning box), and cumulative damage to the pump itself, since in these designs the moving water is also the lubrication and cooling path.
Prevention: pump below the waterline, suction kept flooded, air bled after every service. Sixty seconds of habit; it prevents the failure mode behind a remarkable share of “pump stopped working” posts. (The physics of why is in the primer.)
Mistake 5 — Never verifying delivered flow
Most builds end at “water is moving.” But some flow and specified flow are different states, and every mistake above hides inside that difference. You cannot protect a chiller whose actual feed rate you’ve never measured.
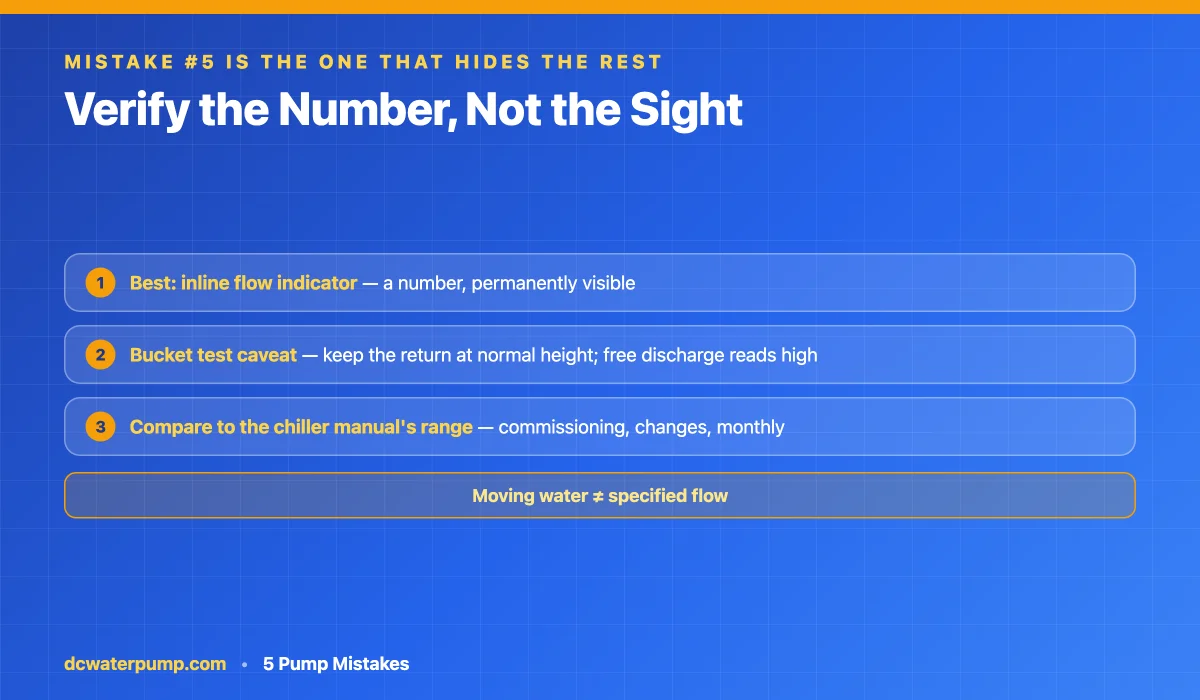
Prevention: verify once at commissioning and after any change. An inline flow indicator is the honest permanent answer. The free alternative — timing how long the return line takes to fill a known container — comes with a physics caveat: if you unhook the return and let it discharge freely into the bucket, you’ve lowered the head and the reading will be higher than your real closed-loop flow. Keep the return at its normal height and routing as closely as possible, and treat the bucket number as an upper bound. Either way, a number — not the sight of moving water — is what stands between your chiller and Mistakes 1–4.
The pattern behind all five
Read the list again and one theme emerges: every mistake is a mismatch between what the pump actually delivers and what the chiller actually needs — either created at purchase or allowed to develop unwatched. That’s why the durable fix isn’t a better brand; it’s a better process: size by curve, respect the window, plan for the filter, keep the prime, verify the number.
For equipment builders, the same logic scales into procurement: the pumps that survive this checklist are the ones specified by curve and duty, not by catalog headline. It’s the design philosophy behind BLDC PUMP’s cold plunge range — brushless DC circulation pumps with published curves, adjustable speed, and every unit through a 100% end-of-line test (leak, current draw, flow, head, noise) before it ships. Built since 2009; standard samples in 3–7 working days.
Frequently asked questions
Can the wrong pump really damage a chiller?
Yes, through flow. Below the chiller’s minimum flow, water can linger and freeze in the heat exchanger — a hardware-killing event. Above the specified range, you add wear and operate outside what the maker supports. Many chillers do ship with low-flow or freeze protections — but those are last-resort trips that shut your system down, not an operating strategy, and the pump still controls the variable those protections exist to guard.
How do I know if my pump is too small for my chiller?
Measure delivered flow (bucket test or inline indicator) and compare it to the chiller manual’s minimum. Warning signs before you measure: FLO or flow-fault codes, short cycling, or ice forming where it shouldn’t. Remember the filter: a pump that was adequate with a clean cartridge can be too small four weeks later.
Is a bigger pump ever the safer choice?
Not beyond the chiller’s specified range — extra flow adds cost and wear without adding meaningful cold. The genuinely safer choice is an adjustable-speed pump sized by curve: enough capacity to stay in the window at dirty-filter head, dialed down the rest of the time.
How often should I check my system’s flow?
At commissioning, after any component change, and whenever behavior changes (new noises, odd cycling, slower pull-down). With a fixed-speed pump and a cartridge filter, a monthly bucket test during your cartridge change is a sensible rhythm.
What’s the fastest way to kill a cold plunge pump?
Dry running. Flooded-suction circulation pumps rely on the pumped water for cooling and lubrication; spinning dry — from lost prime, an airlock, or mounting above the waterline — damages them cumulatively and quickly. Keep the suction flooded and bleed air after every service.
Where does this guide end and the buying guide begin?
This article is about the operational mistakes that damage equipment. The step-by-step purchase process — budget, specs, technology choice — is the companion cold plunge pump buying guide, and the sizing math lives in the five-step guide.
Where to go next
Prevention beats diagnosis: size by the five-step method, architect the loop with the pump-and-filter guide, and if the pump you’re replacing died loud, the quiet guide explains why the next one doesn’t have to.